What to Expect During a New Aircond Installation
A clear walkthrough of an aircond installation — site assessment, time, what the crew does and what to prepare — so there are no surprises.
Our team at Aircond Service Pro Shah Alam knows exactly how disruptive a major appliance upgrade can feel.
Many homeowners worry about the dust, the noise, and the hidden costs that often accompany home improvements. We see this apprehension every single week across Petaling Jaya and Shah Alam.
A smooth setup actually comes down to clear communication before the technician even touches a tool.
Our approach focuses on removing the guesswork completely. This guide explains the entire aircond installation process in Malaysia, from the initial survey to the final test run.
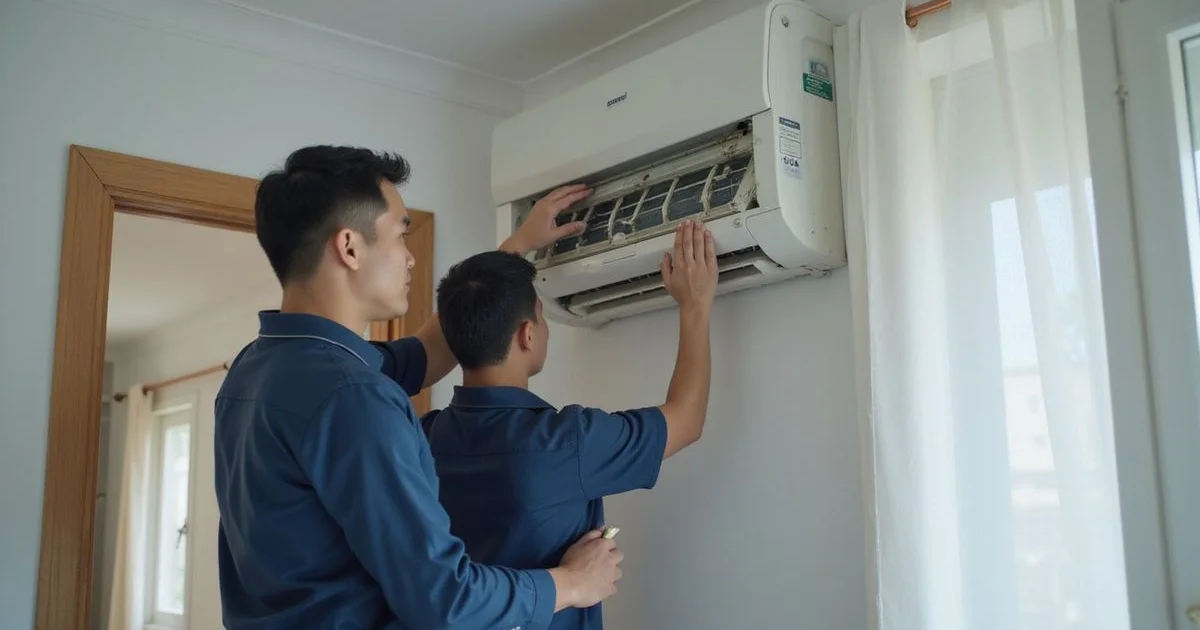
Before the Crew Arrives: Site Assessment
A proper site assessment involves evaluating your space, checking the structural integrity of your walls, and planning the routing for electrical and copper piping. Our team at Aircond Service Pro Shah Alam always conducts this check first, either in person or via detailed photos. A good installation simply cannot start without confirming the best position for the indoor unit and the required drainage routes.
The Importance of Proper Clearances
Manufacturers like Daikin and Panasonic require a minimum of 50mm to 100mm of space between the ceiling and the indoor unit for proper air intake. Our installers ensure this gap is strictly maintained to prevent restricted airflow. A unit mounted too close to the ceiling will struggle to cool the room efficiently.
Calculating Copper Piping Limits
We also evaluate the standard copper piping limits for your specific model. The maximum piping length without adding extra refrigerant is typically 7.5 meters for most standard split systems. Our technicians measure this distance carefully to guarantee optimal cooling performance.
Stretching the piping beyond this limit without adjustments forces the compressor to work harder. We conduct this assessment for our aircond installation service to check the exact wall thickness and material. Standard Malaysian brick walls require specific 65mm diamond core drill bits to create a clean penetration without cracking the surrounding plaster.
Our goal is to provide you with an accurate, fixed quote before any drilling begins to ensure zero surprises on the day.
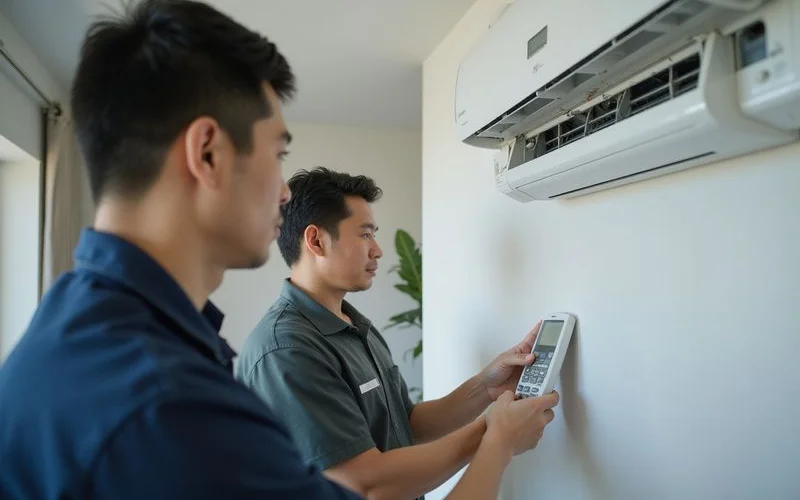
What Happens on Installation Day
Installation day involves securely mounting the units, connecting the refrigerant lines, and thoroughly vacuuming the system. Our standard back-to-back wall-mounted setup requires between two to four hours across most Petaling Jaya and Shah Alam homes, which answers the common question of how long does aircond installation take.
Ceiling cassette units involve more complex ceiling access and generally need four to six hours to complete. We strictly use premium materials to handle the higher pressures of modern cooling systems.
Modern R32 refrigerant requires copper pipes with a thickness of at least 0.61mm to prevent cracking and dangerous gas leaks. Our installers never use substandard, thin piping that compromises your safety or the lifespan of the compressor.
The Critical Vacuuming Process
A major step that many budget installers skip is the proper vacuuming of the refrigerant lines. We use a professional vacuum pump for a minimum of 15 minutes to bring the system pressure down to 500 microns.
Removing air and moisture from the pipes is absolutely essential for the gas to operate smoothly. Moisture left inside the system reacts with the refrigerant oils and causes early compressor failure.
The Typical Installation Sequence
Once you have approved the quote, the physical work follows these proven new aircond installation steps:
| Step | What Happens |
|---|---|
| 1. Bracket and indoor mount | Bracket fixed at the right height, indoor unit secured |
| 2. Wall penetration | Clean 65mm hole drilled for piping and drainage |
| 3. Outdoor unit placement | Compressor positioned safely on brackets or a stand |
| 4. Copper piping connected | 0.61mm minimum thick lines run and flared |
| 5. Drainage routed | PVC drain piped to the exterior discharge point |
| 6. Wiring connected | Correctly rated 20 Amp cable connected |
| 7. Vacuuming process | System vacuumed to 500 microns for 15 minutes |
| 8. Test run and handover | Unit switched on, cooling confirmed, area cleaned |
Our crew carefully protects your floor and surrounding furniture during the work. Dust from the wall penetration is kept to an absolute minimum and is swept up entirely before the team leaves.
No Surprises Policy
Any issue found during installation, such as a hidden wall cavity that changes the pipe route, is shown to you immediately. We discuss and agree on the solution together before work continues, so you never come home to unexpected extra charges.
What to Prepare Before the Team Comes
You should prepare for the installation day by clearing the workspace and locating your home’s main electrical panel. Our technicians need a safe, unobstructed area to operate heavy tools and maneuver bulky equipment. Plaster dust from the 65mm core drill hole can spread quickly, so protecting your belongings is key.
We strongly advise moving beds, sofas, and large furniture at least 1.5 to 2 meters away from the chosen installation wall. Sensitive electronics like televisions and computers must be covered with plastic sheeting or moved to another room. Our team brings protective drop cloths for the floor, but securing your personal electronics prevents fine dust from getting into the vents.
Managing the Electrical Setup
Identifying your home’s Distribution Board (DB) ahead of time saves valuable minutes during the electrical setup. We frequently need to install a dedicated 20 Amp circuit breaker to safely power larger inverter models. The lead technician will need to isolate the main circuit briefly to connect this wiring safely.
Aircond Installation Day Preparation Checklist
A few simple preparations make the actual day much smoother:
- Clear a 2-meter radius around the indoor installation wall for ladder access.
- Confirm the outdoor balcony or ledge is completely clear for the compressor unit.
- Cover all nearby electronics and fabrics with protective plastic sheeting.
- Keep children and pets in a separate, closed room during the noisy drilling phase.
- Ensure an adult is home throughout the process to approve any on-the-spot routing decisions.
For more detail on the specific materials used during this process, read our guide on what a proper install includes. Our post-installation support ensures your system runs perfectly long after the initial setup.
Scheduling our routine aircond chemical wash service keeps your new unit clean and efficient year after year. Getting the foundation right from day one results in fewer service calls and lower electricity bills.
Our senior technicians have successfully installed over 10,000 units across Shah Alam, Setia Alam, Bukit Jelutong, and Kota Kemuning since 2003. Request an installation quote today, and we will happily discuss your exact cooling needs before we start.
Need a senior technician you can trust?
Fixed transparent pricing, a free gas top-up on every chemical wash and repair, and a 30-day workmanship warranty. We serve Shah Alam and the wider Klang Valley.